Modifying Gerber Alignment
GerbV contains a Modify Orientation tool that is great for aligning poorly-generated layers, or correcting errors caused by incorrect drill formats.
The general process is as follows:
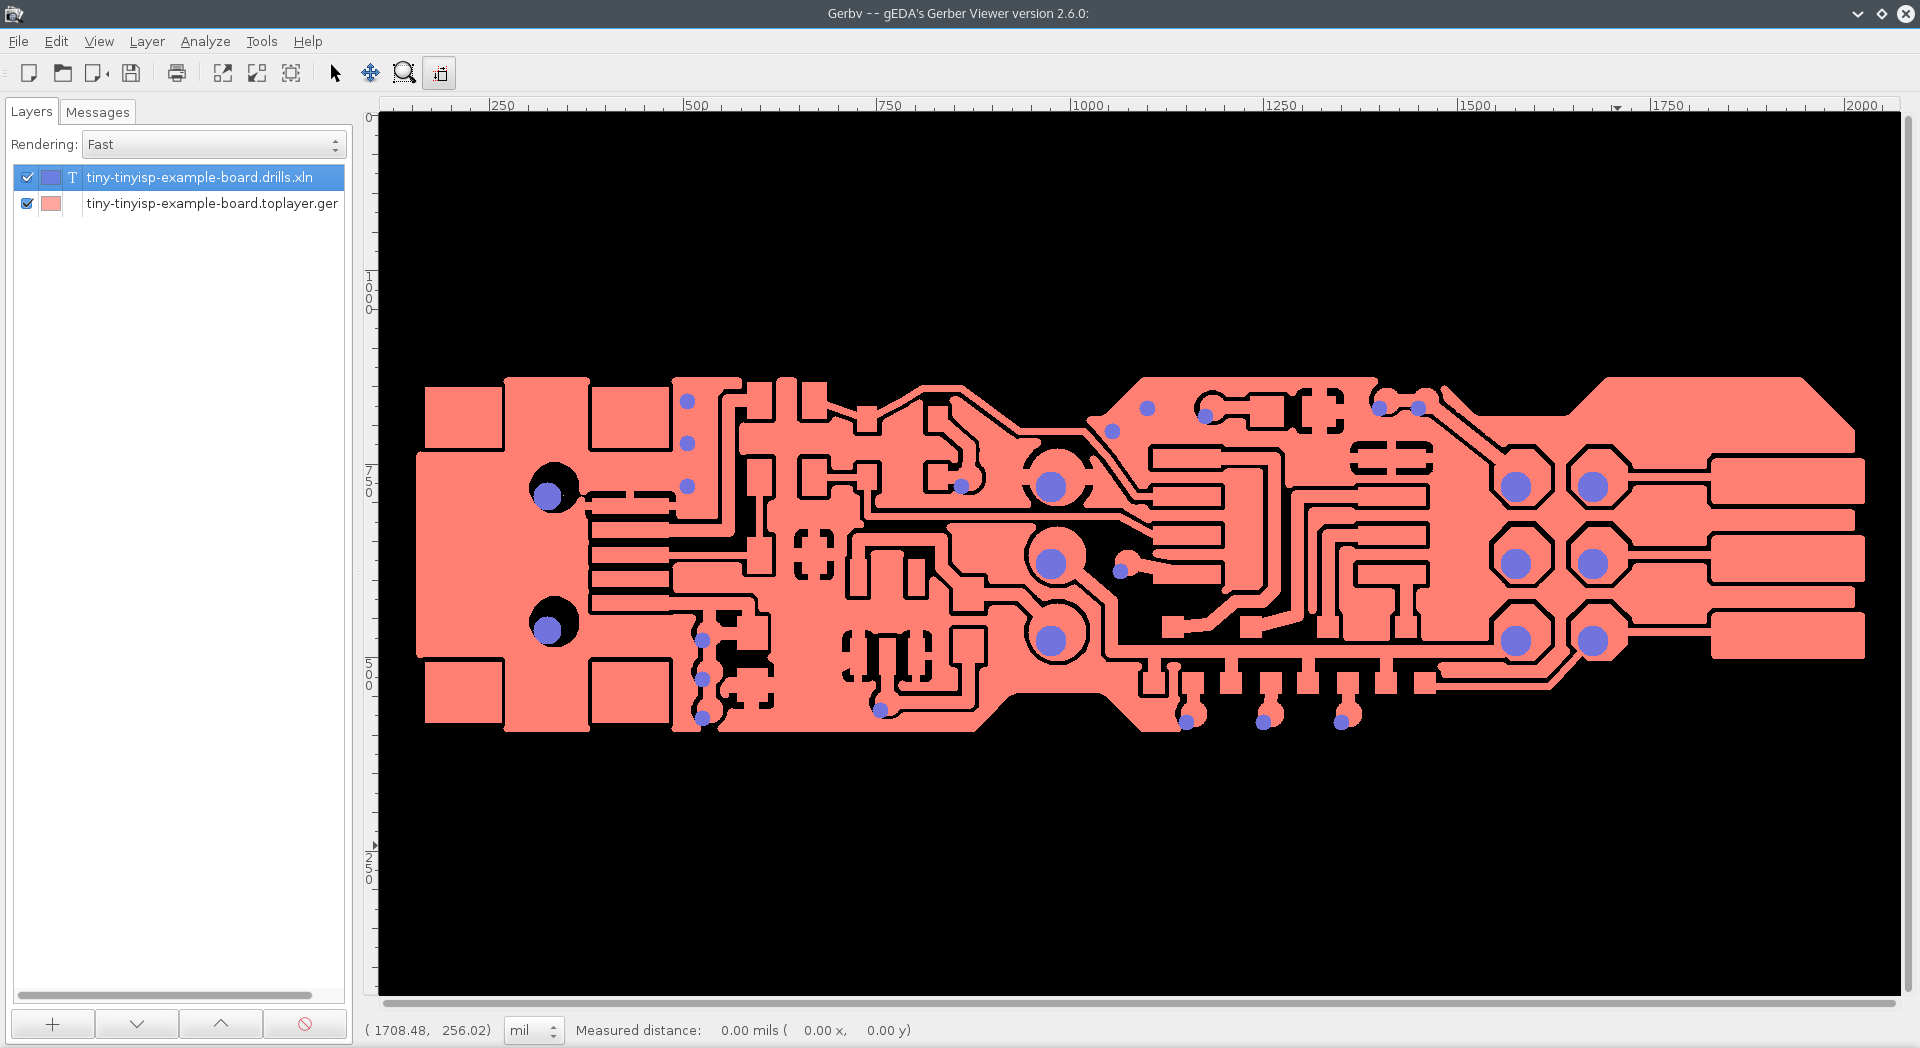
- Open all related files, and determining a “reference” layer. Typically, a copper layer works well for reference.
- Disable most layers by unchecking them in the Layer pane.
- Determine a good orientation of the selected layers. Typically, rearranging the layer order or using the “XOR” viewing option works well.
- For severe mis-alignment, use the Measure tool to get a head start
- Zoom in on a feature on both layers, and use Modify Orientation to line them up. Vias are a good target for most cases. Repeat as necessary to verify alignment.
- Save the file to write the changes to the gerbers permanently.
Step By Step Guide
-
Open all related files, and determining a “reference” layer. Usually only one or two layers are offset, and moving those saves you effort.

-
Disable most layers by unchecking them in the Layer pane. This process is easiest when only 2 layers are showing.
-
Determine a good way to view the selected layers. Using the “XOR” viewing option works well for most layers, since you can see the edges of features on all layers, even if they overlap. For drill files, Fast works well, as long as the Drill file is on top.
-
Use the Measure tool
 to get the layers in the general area where they should be.
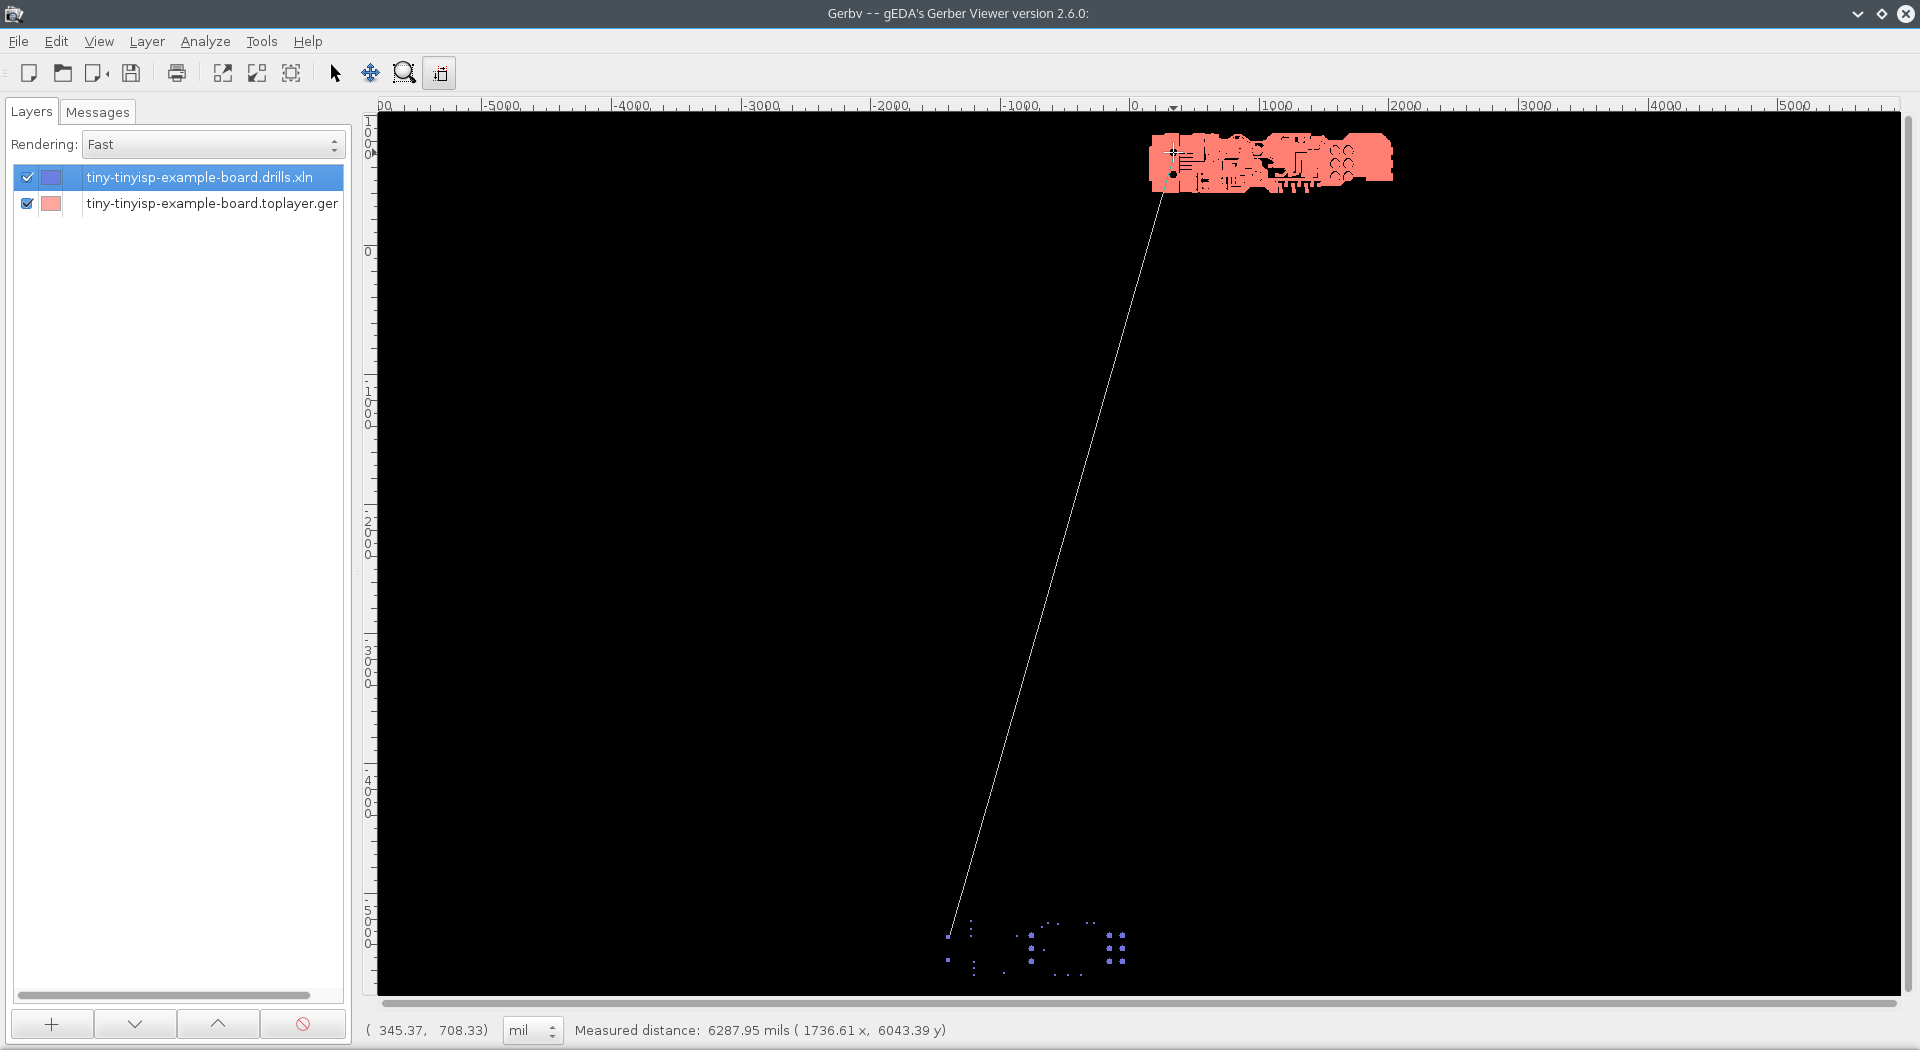
The data of interest is the X and Y coordinates on the bottom screen.

-
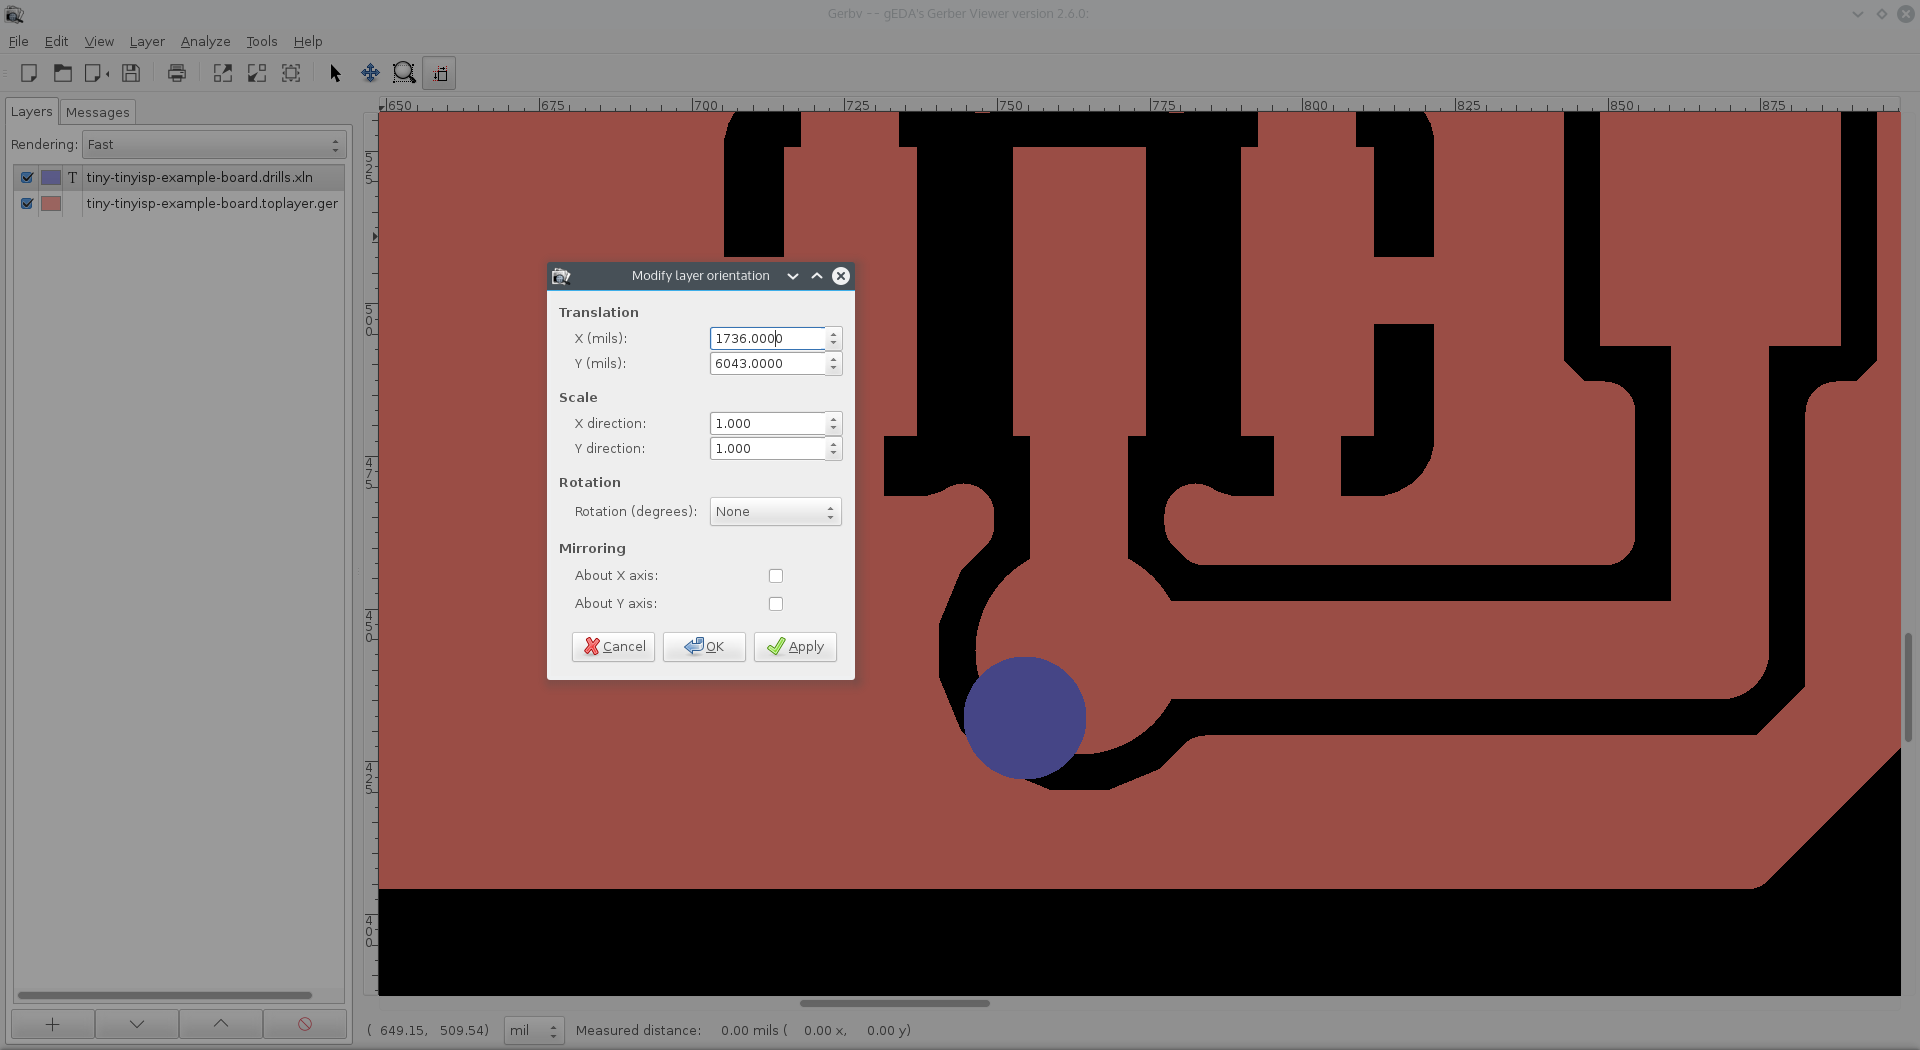
To enter in the rough coordinates, right click the layer to modify, and select “Modify Orientation”.
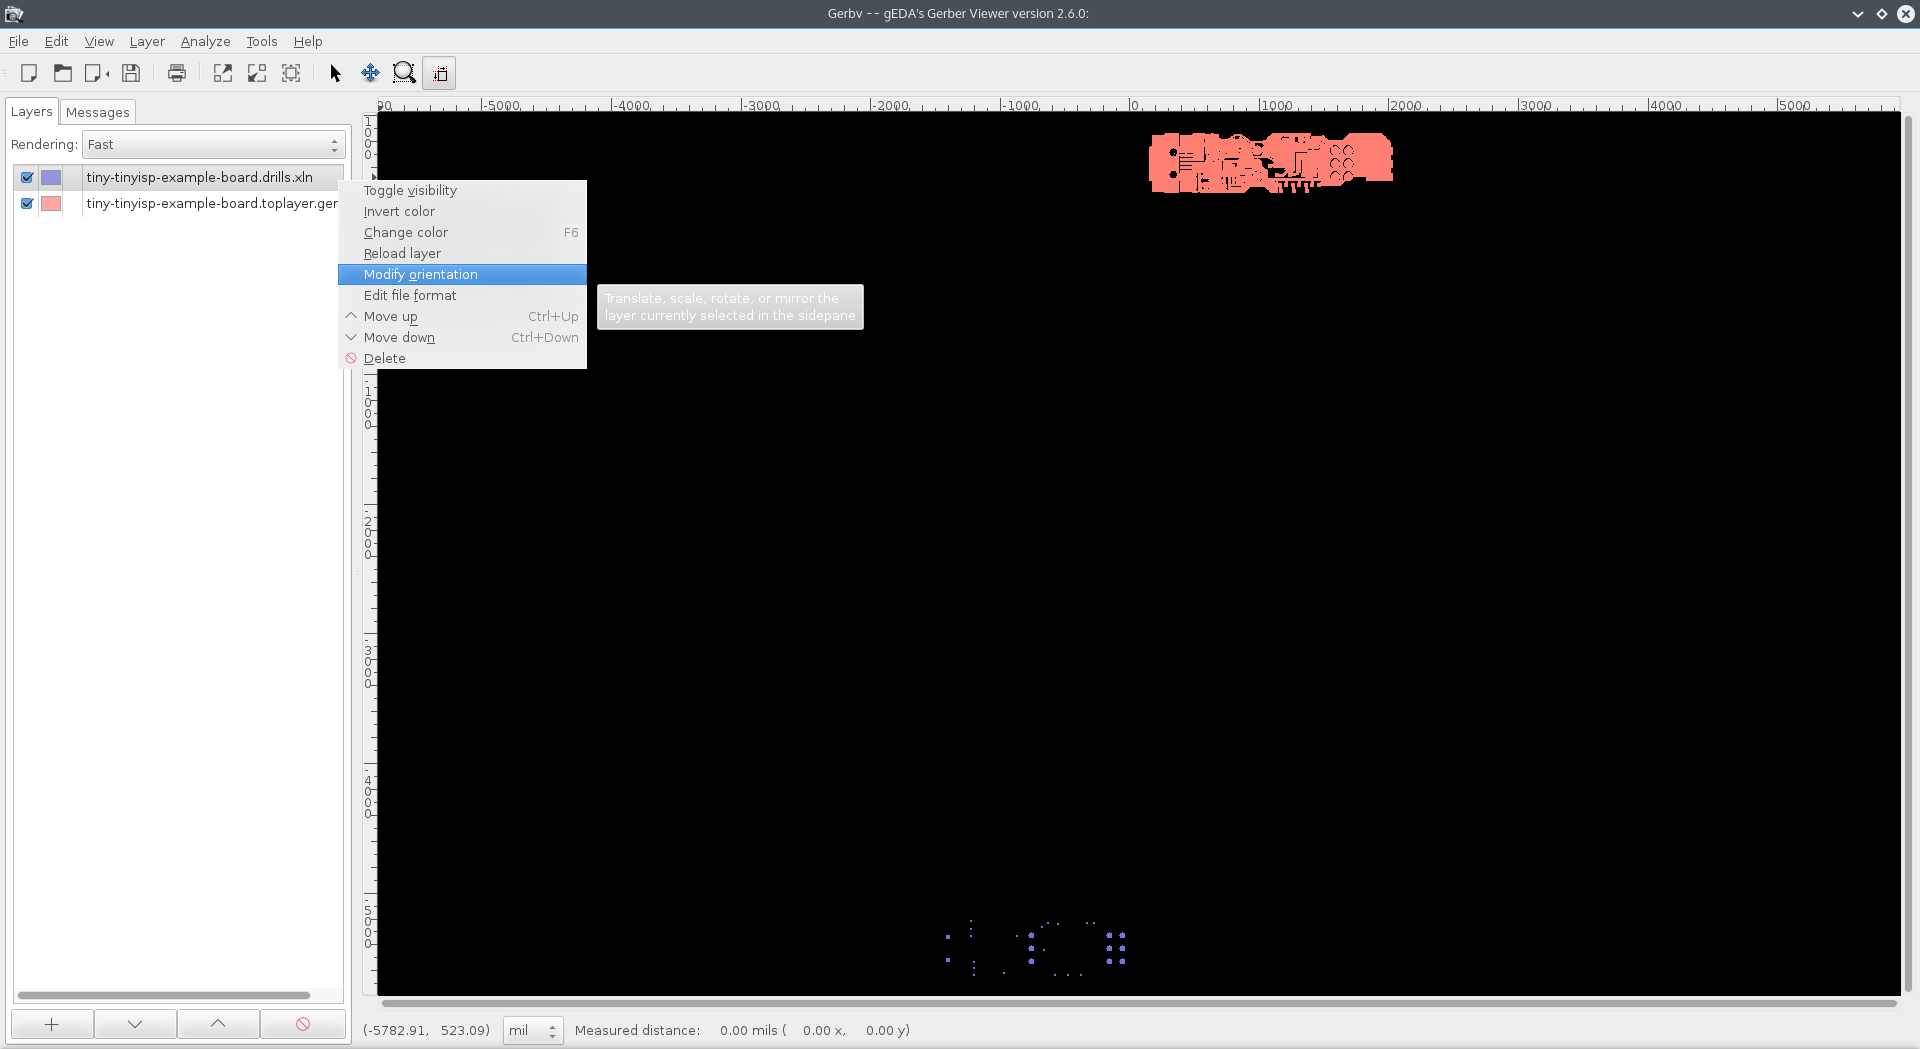
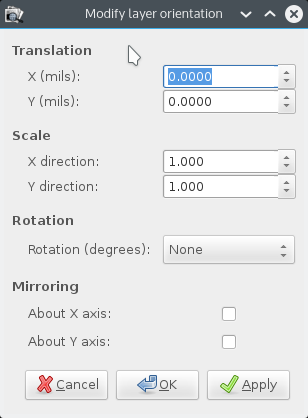
By default, this window has the X and Y offsets set to 0.
-
Enter in the coordinates generated by the Measure tool previously. The last measurement will show on the bottom of the window, so there’s no need to write the down elsewhere.
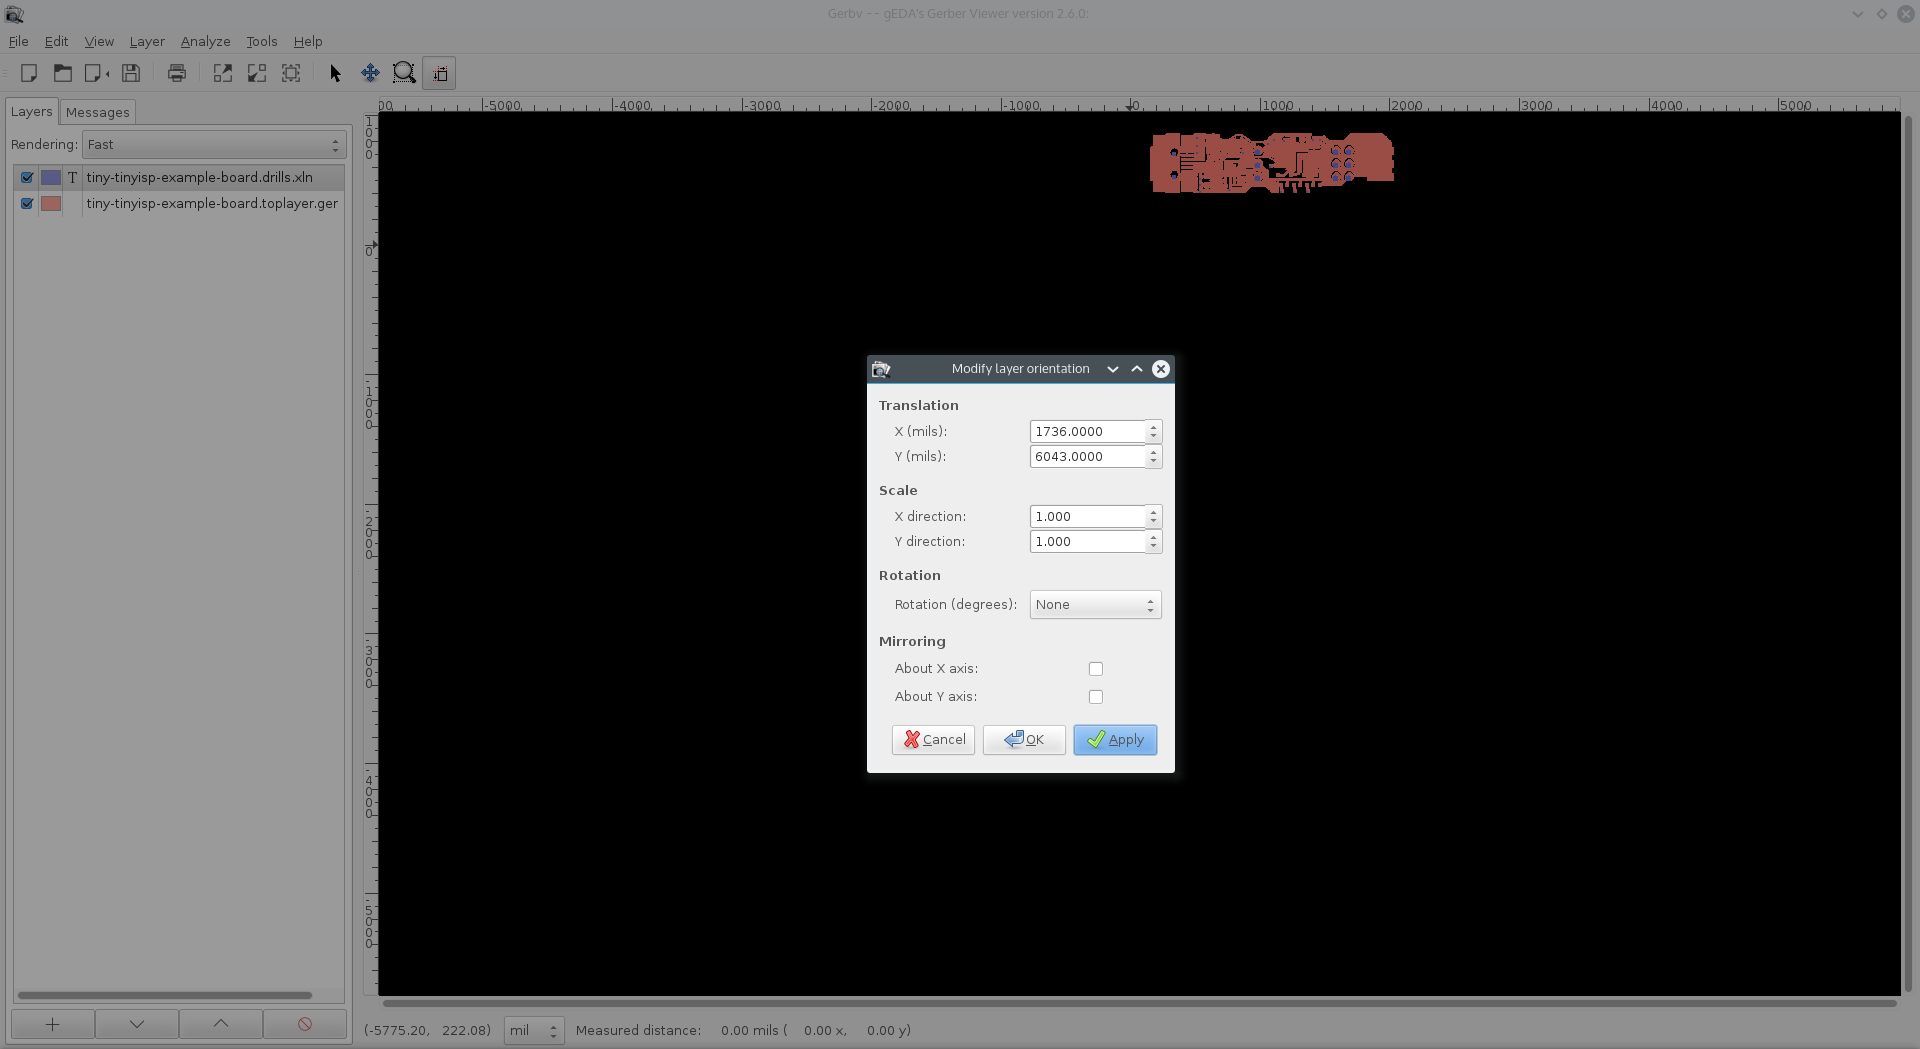
Once the coordinates are entered in, click “Apply” to update the display. The gerbers should be pretty close at this point. Click “OK” to close the window. -
Use the Zoom All tool to center on your newly corrected gerbers.
Before moving to the next step, it’s helpful to align the gerbers so they’re on/near the pad they should eventually be on. For quickly testing changes, you can use the Up/Down keys to adjust the layer’s offset, and CTRL+A to apply the changes. -
To get the final alignment correct, zoom in on a feature on both layers, and re-open the Modify Orientation box. Vias or groups of vias are a good target for most cases.
Now just make the last few adjustments to get the via properly centered.
-
Save the file to write the changes to the gerbers permanently. This is under
File>Save Active Layer.
